Showing posts with label diy. Show all posts

Thursday, August 28, 2014

Home Renovation 2013: Part 3--Front Room

While browsing back through my blog posts last weekend, I realized that I never finished my Home Renovation series from last year...I'm not a very good blogger, I know. So, even though it's now over a year later, I'll try to pick up where I had left off...this is now Part 3--The Front Room!

There are 2 rooms in our house that suffered from an identity crisis and this is one of them. The "front room" as we call it, is immediately to the left as you enter the front door, and was most likely the living room of the house before the major renovation/extension that occurred during the previous ownership. The extension to the back part of the house added a great room which is where we spend most of our time in watching TV and lounging around, so there was no need for a separate living room. So, for a long time the front room was a wasted empty space that was an eyesore every time we entered the house and definitely not the first impression of the house that we wanted to give off. This is how it used to look before we decided to give it a makeover:

"front room" viewed from the front door
odd recessed "nook" next to the fireplace that served no function
As can be seen from the pictures, the room was pretty much empty--we did place couple of chairs and a small table in our attempt to make it into a sitting room and while it wasn't half bad, it still lacked character and we never ended up sitting there much. So, in tackling this room, we wanted to give it a more defined purpose, and to infuse more personality and liveliness into it. So, here's how the room looks now after the transformation:

viewed from the front door
viewed from the dining room
"nook" transformation
gained storage space
charging station--keeps all messy cables hidden out of sight with its lid closed

After much brainstorming, we decided that a mini office was the best purpose for this room. Since we already have dedicated offices where we do our "real" work in, this room is intended for light work only--to sort through mails and do some reading in. It's also where we keep things like our Garmin watches and music players charged up for a quick access before heading out the door. So, here's the breakdown:
  1. We kept the paint color--we like the calming effect of the existing green and it's a nice contrast to the brown wood and the neutral whites.
  2. We kept the chairs in the room for now, but we feel they are too big for the room and will eventually be replaced by something more suitable.
  3. Due to the small size of the room, we chose the most minimal desk and chair that would take up the least amount of visual space, and because we got everything from IKEA, it was very cheap as well.
  4. Again, to keep things light and airy, we chose a leaning ladder shelf which takes up very little space while providing a ton of space for display and organization.
  5. To balance out the adjacent wall, we placed a vertical mirror (already owned) with a similar wood tone.
  6. The fireplace mantel now sets a nice visual tone for the whole room--we chose a mirror instead of a painting, because we don't have any painting that's worthy of a fireplace mantel and also because we wanted to try to reflect more light into the room.
  7. The biggest project for this room by far was the built-in shelf on the left side of the fireplace. We were lucky to have found a base cabinet at IKEA that was both cheap and a perfect dimension for the nook. We had the top sized and cut and stained dark brown and added new chrome hardware for the doors. We added the floating  shelves on top, painted them white and added thick molding to the front for a more visual impact. All in all, we were able to essentially convert a dead space into a full functional storage/display unit which also adds to the character of the room.
Since renovating the room, we use it much more than ever before. It's very functional and now has a definite identity of its own. It's now also a very cozy and welcoming room to step into every time we come home.


Monday, February 24, 2014

Valentine's Photoshoot Prep

The recent photo session was a lot of fun and photos turned out wonderful.  I got the idea to do a kissing booth theme while browsing through Pinterest awhile ago.  A lot of people were using these wooden crates for the booth and I just happened to have a few that I bought for my office renovation, so it worked out good.  You can find these crates at many different places--I got mine at Michaels and Home Depot.  Price was slightly cheaper at Michaels using their 40% coupon, but I thought the quality was a bit better with the ones from Home Depot.  The only thing is, they don't stock them in store so you'll have to place the order online and go pick them up later.  It took about 5 days for me, which isn't bad if you're not in a rush.  I paid about $10/crate. I also picked up 2 skinny strips of wood and 1 wide plank to complete the structure for about $5.

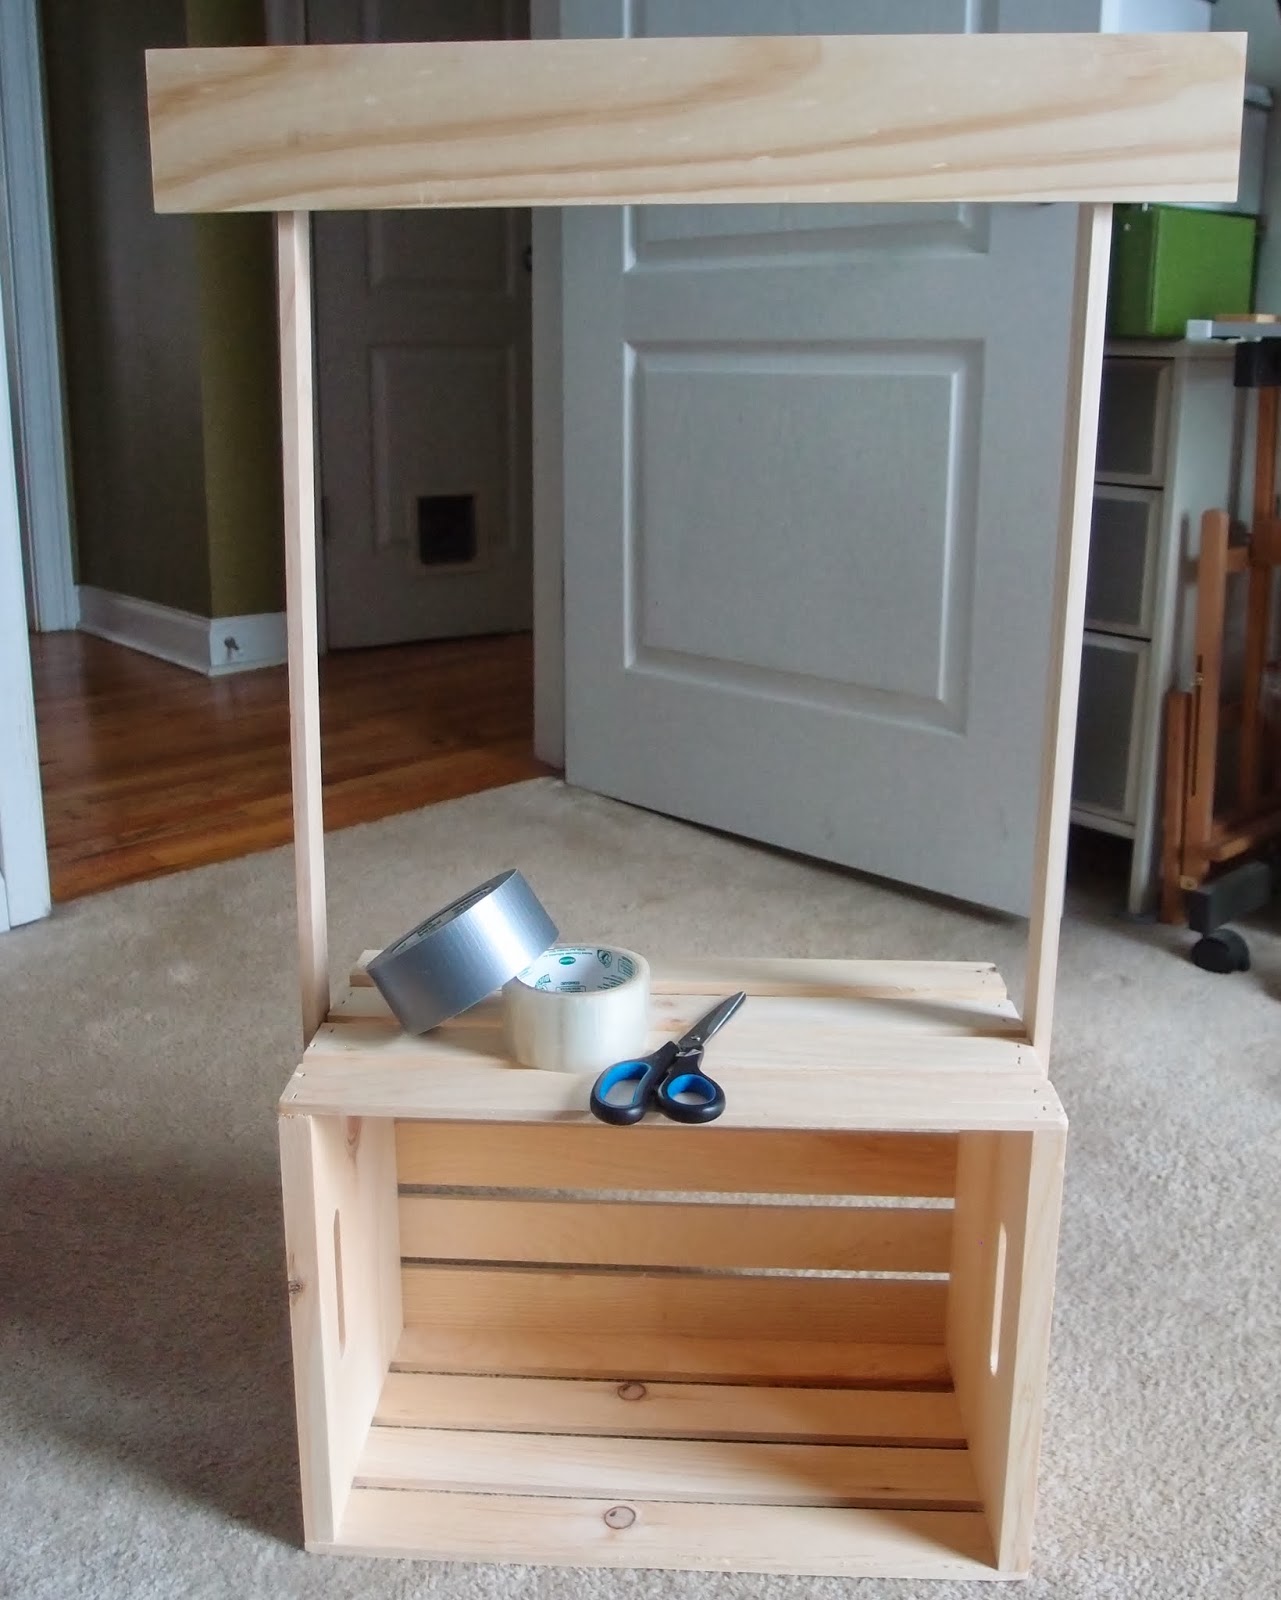
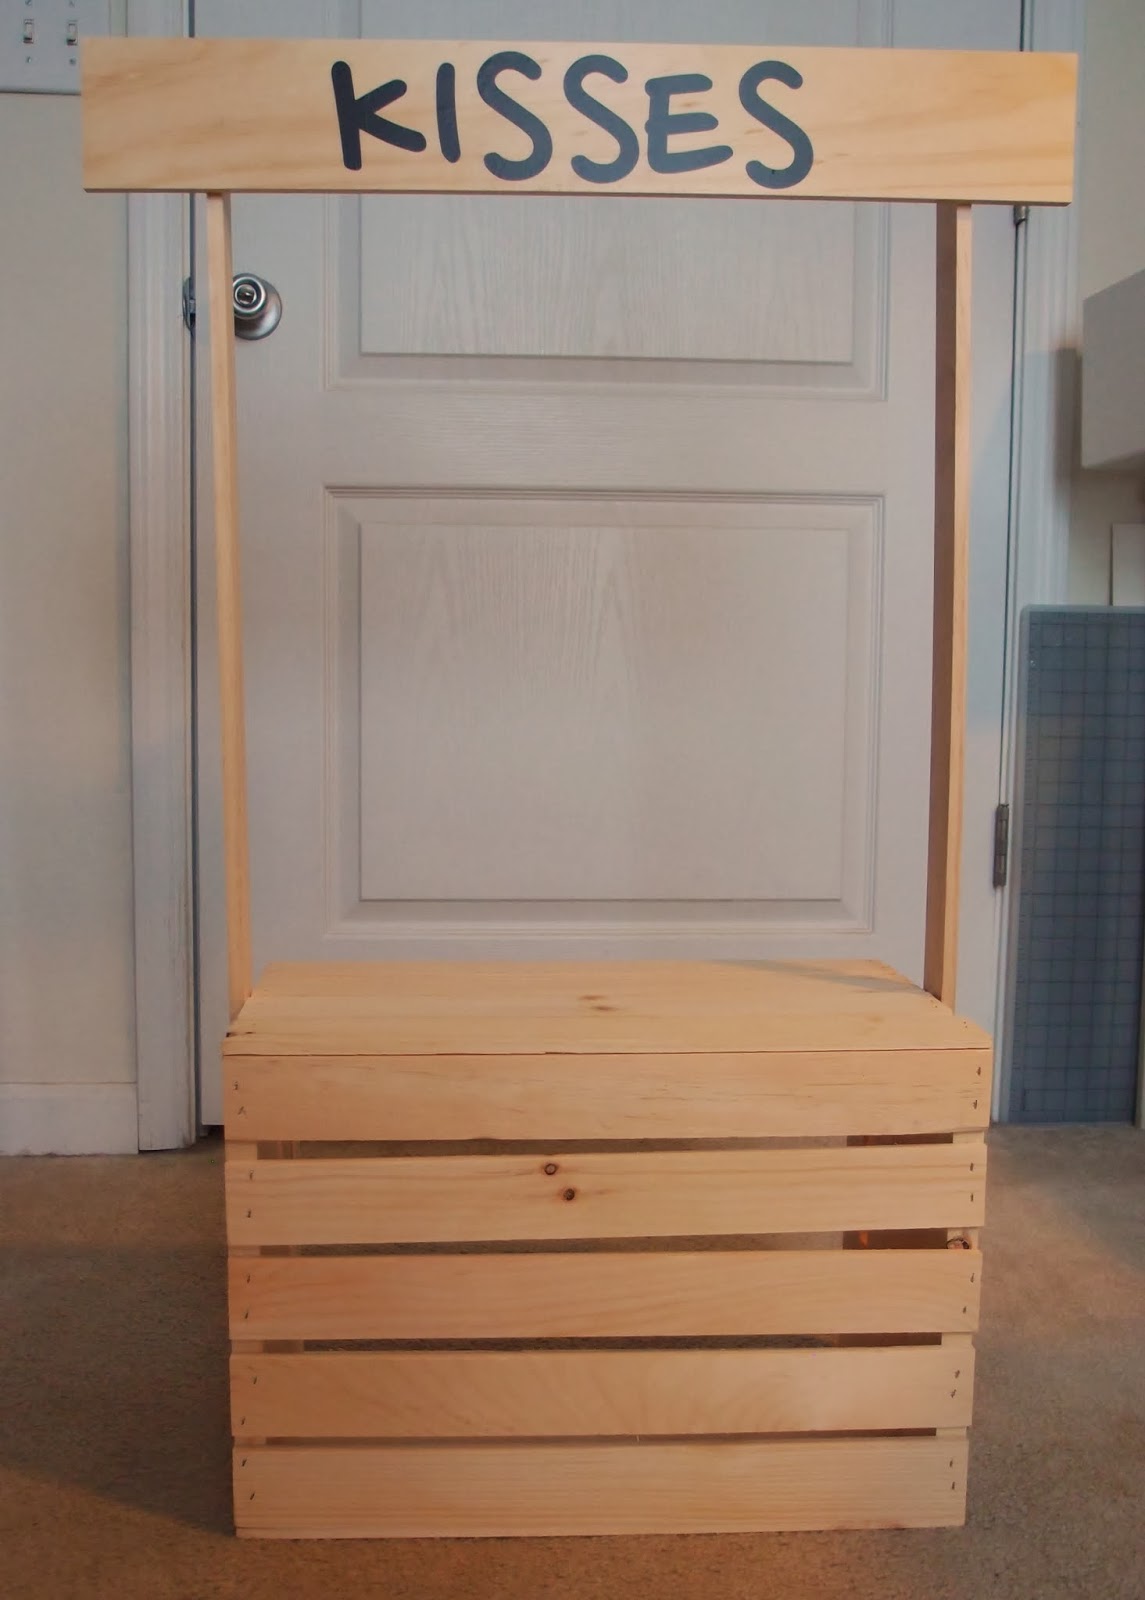
You can get as fancy and creative as you'd like in decorating the kissing booth.  I decided to keep mine pretty simple and added just the sign and a row of hearts.  Since I had to reuse my crate for the office, I opted against using nails or screws, but instead used heavy duty double-sided adhesive strips and duct tape.  It held well enough for the photoshoot, but one side did come apart couple days later, so my advice would be to secure it firmly with proper hardware, especially if you plan on using this to take photos of little ones.  Here are a few photos of the steps outlined:
gather all pieces: crate, 2 side sticks, and one wide board

assemble the pieces--I strongly recommend nails or screws.  I also made the mistake of putting the board facing the wrong side initially.

I added vinyl letters for the sign

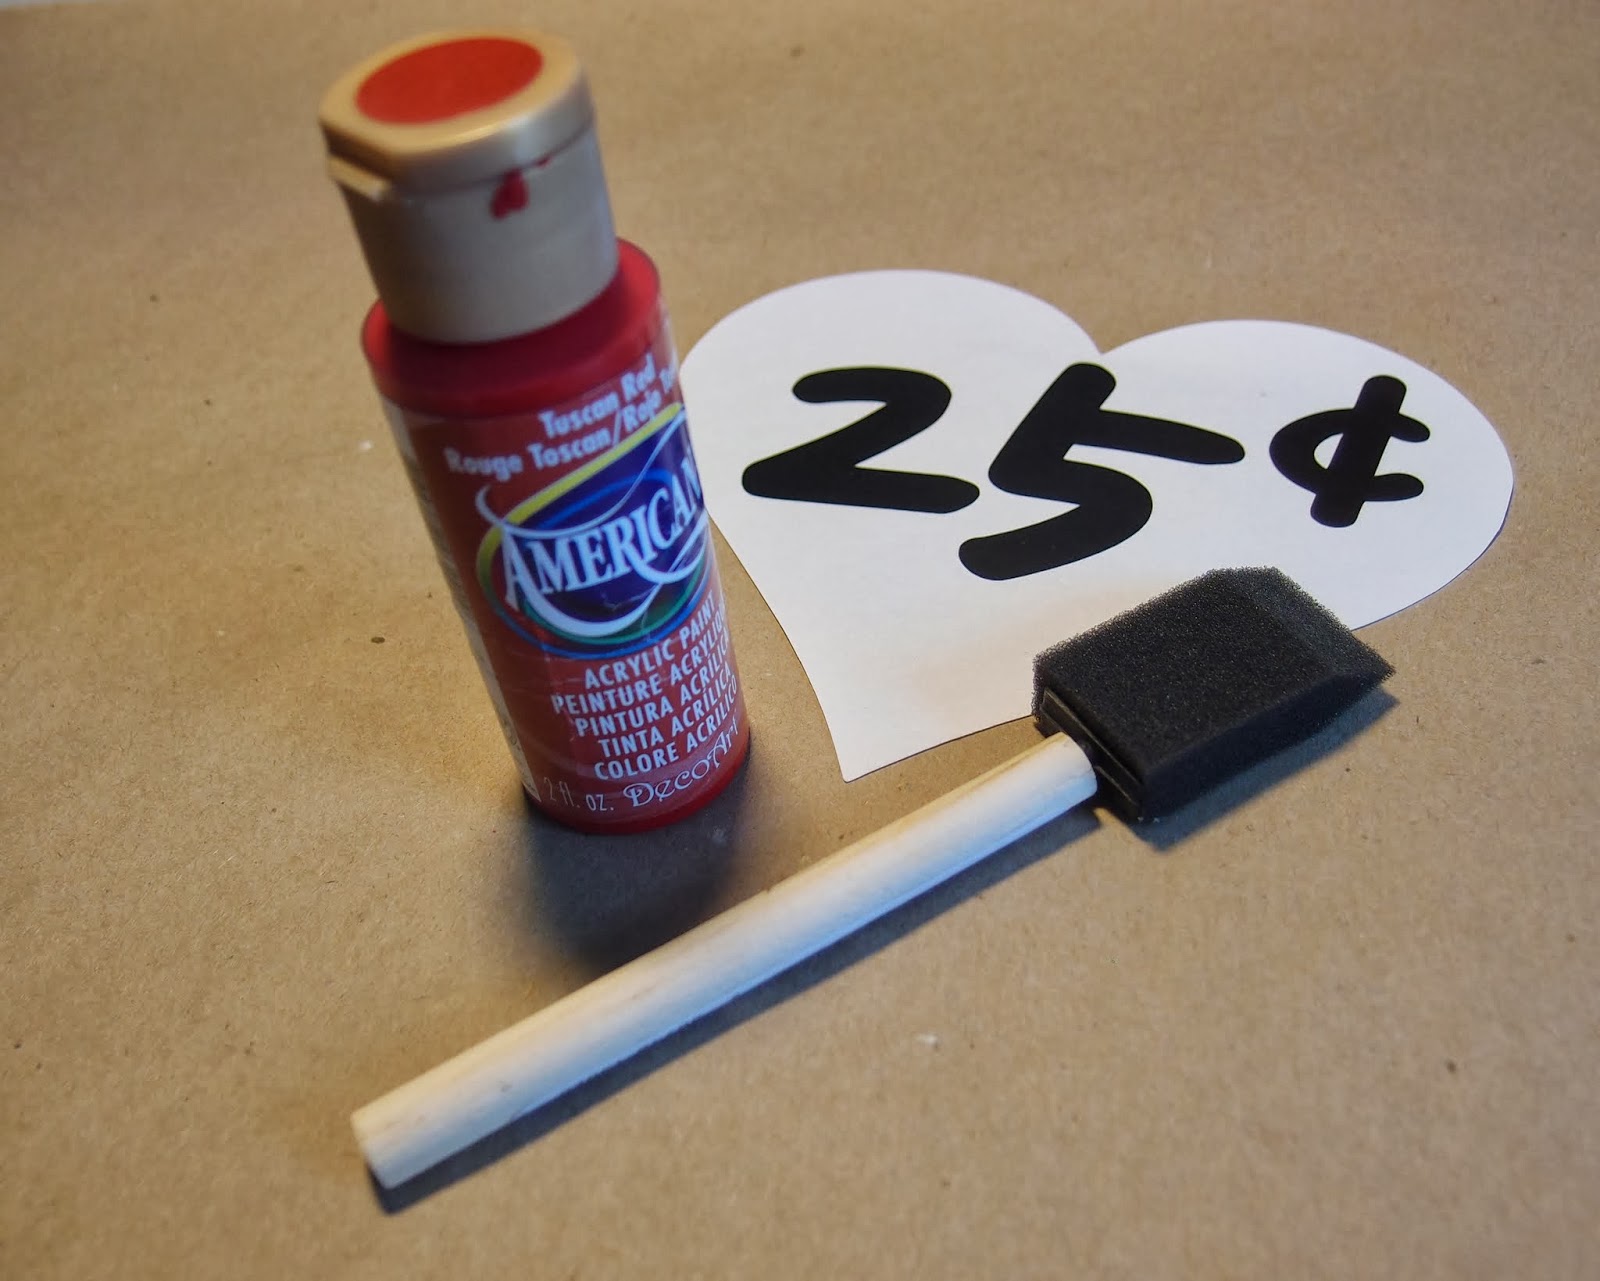
I didn't have red paper on hand so I had to get creative and do a quick stencil job.

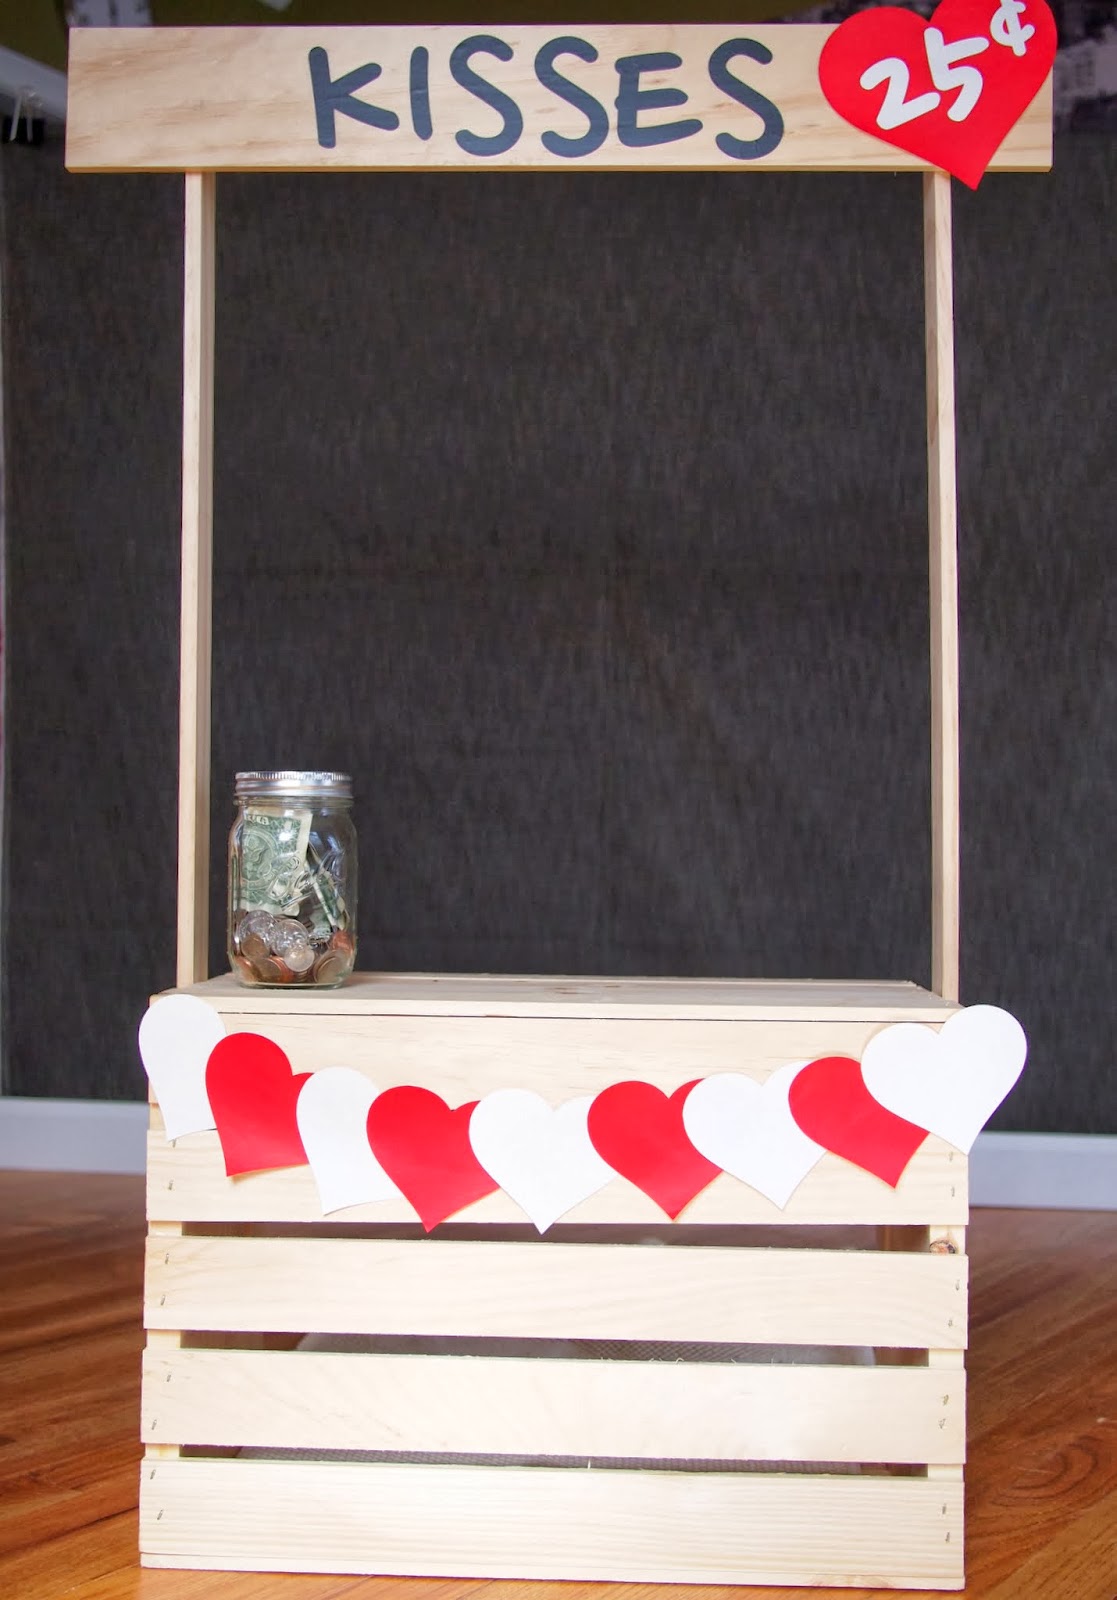
I taped a row of hearts and that's it!
All in all, it was a pretty simple project and well worth my time and effort.  It took a little longer than anticipated since I had to paint the red hearts.  Yes, it would've been a lot faster and simpler to just use red paper, but we were stuck in snow and I had to do with what I had in the house.  Oh, and I added the mason jar for the tips, and we were ready for some smooches! You can see the actual photos from the session here.

Wednesday, February 19, 2014

DIY & Crafts: Valentine Lightbulb

Every year for Valentine's day, I try to make something instead or in addition to the usual gifts.  For this year, I've had my mind set on doing this diy lightbulb project ever since I saw it on Pinterest over a year ago. I remember thinking back then that it seemed a bit complicated and dangerous, but it looked so darn cute that I just had to try it this time.  After completing it, I have to say that it wasn't as hard as I initially feared.  Yes, you do have to be careful since there's lots of little sharp glass bits to work with, but with proper safety goggles and gloves on, removing the filament of the bulb (hardest part of the project) went without a hitch.  I used this tutorial from Design Sponge, which also gives you a link to TeamDroid for a separate tutorial on how to clean out the lightbulb. Here are some of the pictures to show the steps. I didn't bother including any of how I cleaned out the bulb since the above tutorial shows it in great detail--just follow their instructions, go slow and don't forget the safety precautions.

to add the wire sculpture, I drilled a tiny hole in the cube and secured it with a little silicone adhesive. I got both the wooden cube and the wire from Michaels. 
I printed out a few with different fonts.
I used brads for a decorative touch. Add the brads to the paper strip first then glue the whole thing to the cube.
use strong clear adhesive to affix the lightbulb to the cube and wait for it to fully cure before handling it.
After 48 hours for the glue to set and it's ready!
incandescent lighbulbs are almost vintage nowadays, aren't they? 

It's a neat little project and definitely makes a very unique gift! I've always liked the shape of a lightbulb and wished I could somehow reuse an old bulb whenever I had to throw one out, and now I'm wondering what else I could turn it into to--maybe a planetarium or a snow globe?


Monday, December 2, 2013

Thanksgiving Photoshoot Prep

I thought it would be a good idea to share some of the background preparation that goes into each photoshoot in my new project--if nothing else, it's a good way for me to document each step.  So, here are some details to last week's Thanksgiving session.

Once I decided on the theme, I set out to buy the pilgrims costumes online, but quickly realized that they're not that easy to come by and also quite costly.  I did however find a whole bunch of tutorials on how to make paper pilgrim's hat and bonnet for kids and that gave me an idea to make my own.  I knew that i wanted to substitute paper with fabric or something a bit more realistic and also more durable, so I had to get a little creative.  For Jasper's hat, I looked around the house for a suitable "top" and at the end decided on an empty cup ramen container.

what shall we use...
styrofoam cup was too small...
old Ikea pencil holder was a good size but a bit heavy...
ramen cup was the perfect size and weight!

I was tempted to eat the ramen first, but thought it best to keep it clean, so I put away the noodles in a ziplock bag for a later consumption.  For the brim of the hat, I simply used a cardboard box and cut out a circle in the middle about the same diameter as the ramen cup.
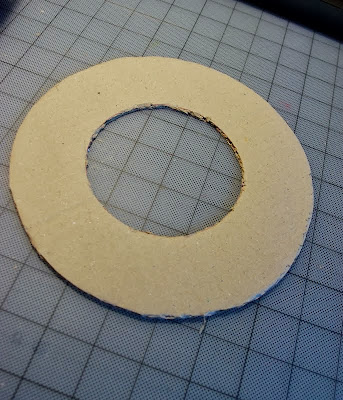
At this point, I took a trip to a local craft store and picked up a sheets of black, white and yellow felt. The rest of the project involved a lot of cutting and gluing of the felt onto the cup ramen and the cardboard template and then joining the two pieces together.  I used my hot gun for the job, but staples or double sided tape will probably work as well, and they also sell the felt sheets with the adhesive backing which I considered (but was too cheap to pay the additional $0.50).  The last step involved sewing on some spare black shoestrings I had lying around (why, I have no idea).  I didn't spend a whole lot of time or effort into making it all pretty and perfect since it's for a photoshoot, but I think it turned out pretty good and I definitely think it's better than using paper.

For Misty's bonnet, I thought about sewing together a real bonnet out of fabric, but I couldn't really find a template that was simple enough for me to even consider attempting on my limited sewing skills, and I really didn't want to make one out of paper, fearing it'll end up ripping and not lasting through the photoshoot.  Then, I found this tutorial which used a thin foam sheet (also found at a craft store) and that was perfect for my needs.  I followed the tutorial exactly and only had to modify it a bit (cutting it a little more in the back) to make it a better fit for a dog's head.  The foam material makes it more rigid but it keeps it's shape better, I thought.

All in all, this project only cost me $6 and couple hours of my time--not too bad!  Now onto the photos--you can see the actual photoshoot pictures in here.

Sunday, August 18, 2013

Home Renovation 2013: Part 2--Kitchen

The kitchen renovation was the biggest and probably the toughest of all the rooms due to its sheer size and due to so many different elements that needed to be addressed. It's a long, galley style kitchen (although on a wider side than most) with lots of dark wood cabinetry, dark green walls (originally) and not a lot of natural light. Overall, the tone was very calm and earthy, which isn't a bad thing, but a bit too heavy for our taste and definitely not happy enough for a room that we spend so much time in. So, when we first moved in 4 years ago, we tried to make the room brighter by painting over the moss green walls with a cheerful yellow color and although that was an improvement, it just never felt like it was enough of a change. Here are a few "before" pictures:
lots of wood and overall earthy feel.

even with yellow, feels a bit heavy and dark.

this is definitely a room that gets a lot of usage.
This kitchen renovation involved learning and doing lots of new things like painting the cabinets and putting up a tile backsplash...which meant watching a lot of YouTube videos and then, just going for it! The toughest decision before starting the project was whether to paint over the wood cabinets and we feared it'll turn out horrible, but it was too integral to achieving the whole look that we were after, so we decided to be brave and take that leap. It was also a challenge to live and try to cook in a state of constant mess for a good couple of weeks.  Here are a few "progress" shots: 
getting ready for a fresh coat of paint.

dining table turned work station where all the cabinet painting took place.

trying to contain chaos as much as possible.

subway tile backsplash made a huge visual impact.
Well, after many takeouts and after all the dust had cleared, we were extremely happy with the end result! The transformation was huge and we achieved exactly what we wanted, which was a bright and airy kitchen and now there's a perfect balance of function and aesthetics:
even on a dark rainy afternoon, kitchen feels so much brighter!

we left the top cabinet open to keep it airy and gave the space a new function of drink serving area.

functional and beautiful!
It's hard to cover all the little elements that went into this room in one post, so I'll try to break it down further later.  There are few things more I would like to add to the room down the road, like maybe some pendant lights, but for now it is done and we're enjoying it everyday!

Just a few last points to ponder...
  1. Painting cabinets is perfectly doable.  For a professional finish, do use high quality primer, a good paint brush, a paint retarder, and above all else, take your time in each step!
  2. Speaking of time, do plan to be without a functioning kitchen for 2-3 weeks!
  3. Do plan on living with a complete mess for that same time...a huge challenge for the OCD.
  4. Cutting tiles by hand-held tools like nippers and hacksaws is doable for a small job like this room, but it is very time consuming and not the easiest thing...I would probably invest in a cheap wet saw and learn to use it if I had to do it all over again.


Tuesday, August 13, 2013

Home Renovation 2013: Part 1--Guest Bathroom

Being the smallest room and most in need of an update, we started with the guest bathroom in March. It was the one room that always seemed a bit too plain and boring--nothing terribly wrong, but just lacking in personality. I don't have too many "before" and "progress" pictures as I'm terrible at remembering to grab that camera, but here's a few I did manage to capture:
just a plain bathroom...
builder grade oak vanity getting a paint job
after a coat of light grey color on top, the bottom half eventually got the beadboard wallpaper.
Being a diy project and being the cheap frugal people that we are, our goal was to spend as little as possible while improving its overall visual appeal, which meant pretty much everything stayed--the builder grade vanity, the floor, the tiles.  After doing a lot of research for ideas and pinning on Pinterest for inspiration, I set out to give the room a cosmetic makeover.

One of the first and the toughest hurdle to cross was the removal of the ugly, oversized builder-grade mirror. Now, It would've been so much easier to just put a frame around it as I've seen done by many in similar situations with great results, but unfortunately ours had a quirky little design flaw of an existing outlet embedded within the mirror (with a matching mirror outlet cover!) and adding a frame would've made it only even that much uglier.  Who does that anyways?  My guess would be that the last contractor wasn't thinking when he ordered the mirror and forgot about the little outlet.
All taped up and ready to go! Note the odd embedded outlet within the mirror.
After doing a quick look around the web and deciding it to be a doable job, I first took some time protecting the mirror in case of a shatter, by putting a clear Contact vinyl sheet all over and then some duct tape on top for an extra measure of precaution.  It took some 40 minutes of careful prying with a crowbar to free the mirror away from the wall.  It probably took a lot longer than necessary as I spent the first 30 minutes of it experimenting and trying to figure out how much force to apply and basically just trying to get comfortable working with a giant slab of glass that can decide to shatter any minute and send me to the ER.  However, once I figured out a method that worked for the first corner, the rest started to follow pretty quickly after that point and when it finally all came off, it was the biggest relief and a huge sense of empowerment!
yay, it's off!
The rest of the renovation was a lot easier...relatively speaking. After a lot of trips to the local hardware store and after many hours of painting, wall-papering, and some carpentry work later, it finally all came together, and when it did, we were quite happy with the end result and with the choices we've made.
painting the vanity dark set the color scheme for the whole room and balanced out all the whites & neutrals.
elevating the shower curtain made a huge visual impact.
beadboard wallpaper with a chair rail turned out awesome.
what replaced the once ugly giant mirror...and look, we now have a normal outlet!
The bathroom is still not quite completed as is evident by the blank picture frame in the photo above.  There's still some final decorating touches to be had in order to pull the room together, and I'll probably update this post when it's all said and done, but for now, we are quite pleased with the transformation!