Wednesday, April 23, 2014

Happy 10! Project: Spring Bunnies

After a long, cold winter we've had, it's finally starting to feel like spring around here! To celebrate, we had some bunny fun last week. Pictures turned out so adorable--dogs + bunny ears = cuteness overload!

"Carrots grow on trees??"
"Where's the treats?"
"What's up, Doc?"
yes, blue bunnies do exist
"Are these my babies?"
mini me...
Happy Spring!

Thursday, March 20, 2014

Happy 10! Project: Misty Turns 10! Part 2

Misty's birthday week continues...today I worked on one of the photos taken on her birthday. Chalkboard art is all the rage right now and it's everywhere!  Inspired by various pins on Pinterest, I knew the exact look I wanted, but I did not have a chance to prepare a chalkboard, so I had to cheat improvise and rely on a bit of Photoshop magic.  I am in no way anywhere near being a Photoshop guru, but I can get the job done...most of the time, and if I get stuck, there's usually a ton of resources and tutorials out there to help me out.  So, this is kind of what I had in mind, found on Pinterest:


The link to the original source for the photo appears to be broken, so unfortunately I cannot give a proper credit for the picture.  Anyways, you see a lot of these similar kids' birthday photos out there, but I can't say I've seen one done with a dog...until now!  The photo I chose for this mini project was this one:


All I had to do was isolate out the white background and replace it with a chalkboard texture.  I used this one by Karin Dalziel on Flickr.  I won't go into details about how to isolate an object in Photoshop since there are gazillion tutorials out there on the topic already. Generally, it's easier to isolate your subject from a less busy background, like a solid color in my case. This is how my photo looked at this stage:


Now that I have a blank chalkboard canvas, the rest is all about personalization!  You'll need a few fonts and dingbats to give it that chalk feel and to embellish your art. I think it looks better when you mix a lot of different fonts and things look a bit more random and messy like a real chalkboard.  Go crazy and decorate to your heart's content!  These are some of the fonts I used: 

1. Aria Penci Roman  2. Pencil Pete  3. Eraser  4. Chalk Hand Lettering Shaded  5. KG Flavor and Frames


It actually took me a while to finish this last part, because I was trying to figure out the layout and the wording on the fly.  I think a little planning on paper beforehand would've made things go much quicker...oh well, that's what I get for being lazy!  Here's the finished photo:


So, would I recommend this method to people?  Hmm....I'm not sure.  It's certainly less time consuming and simpler to just use a real chalkboard for your backdrop.  It's also much more organic to use real handwriting than computer fonts and also you can decorate it any way you want.  However, I think the photoshop-generated chalkboard does allow you the flexibility to edit your writing later if you need to, and not everyone is artistic or has nice enough of handwriting...and I think it looks "realistic" enough.  So, I think it really depends on your individual project needs.

Wednesday, March 19, 2014

Happy 10! Project: Misty Turns 10!

Oh boy, March is turning out to be one crazy month, with one photoshoot after another!  Having just completed St. Patrick's Day session only few days ago, I had to shift gears quickly and prepare for the big celebration--MISTY'S BIRTHDAY!!!  In all the 10 years, we've never had a birthday party for either one of our dogs, so I felt a bit clueless about how to pull it off. It also took some extra time and effort in preparation since it involved baking a cake (will try to post recipe later), but I really wanted it to be a special day and nothing is too much for my girl!  Photoshoot itself was also a bit of a challenge--how to manage two very excited dogs with all the goodies and treats within their reach?  They actually behaved wonderfully, and I was able to capture a few shots before letting them all loose! Overall, I'm not terribly happy with how the photos turned out and I blame it all on my inexperience.  Looking through the photos afterward, I can see what mistakes I've made in lighting, camera settings and in composition, and I think I can do better next time...I'll have another chance in November for Jasper's Birthday.  However, the main focus for today was celebrating Misty's milestone and appreciating her 10 years with us.  She has truly been a gift to us and I'm so thankful for her! Now for the pictures...warning, there's quite a few!

table setting complete with cake, treats, and gifts
the guest of honor!
it's a pawty!!
despite fire hazard, we lit the candles for a brief moment
Misty's very own first cake ever--she didn't quite know how to attack it and kept licking the frosting only. I had to cut it into small bite size for her...so spoiled!!
Jasper devoured his slice no problem
bug-eyed with excitement!
ripping off the wrapping paper is the favorite part!

Monday, March 17, 2014

Happy 10! Project: Leprechaun Magic

Happy green beer day!

In honor of St. Paddy's Day, we did a leprechaun theme photoshoot this past weekend.  There was a little bit of prep work involved (as usual) and I'll write about it in detail in another post for anyone interested.  I think this was the funniest photoshoot so far--the orange faux facial hair was ridiculous, but so cute on the dogs! There were so many good, funny photos that it's hard to choose a favorite.  Here's a sample from the session:

"leprechaun, who?"
Afghan hound for a day...
my trusty assistant at work
Ahh~I can see again!
can I eat that??
guard that pot of gold!
Happy St. Paddy's!

Tuesday, March 4, 2014

Happy 10! Project: Mardi Gras

Happy Fat Tuesday!

March is starting off with a festive feel and I wanted to capture some of it in this photoshoot.  I wasn't sure how my dogs would feel about wearing masks, and I had to play around a bit stabilizing them on their faces, but overall they didn't mind them much and we got the job done!

getting the masks to sit properly on dog's anatomy was a challenge!
nice bling-bling!
green is her color!

party on!

Monday, February 24, 2014

Valentine's Photoshoot Prep

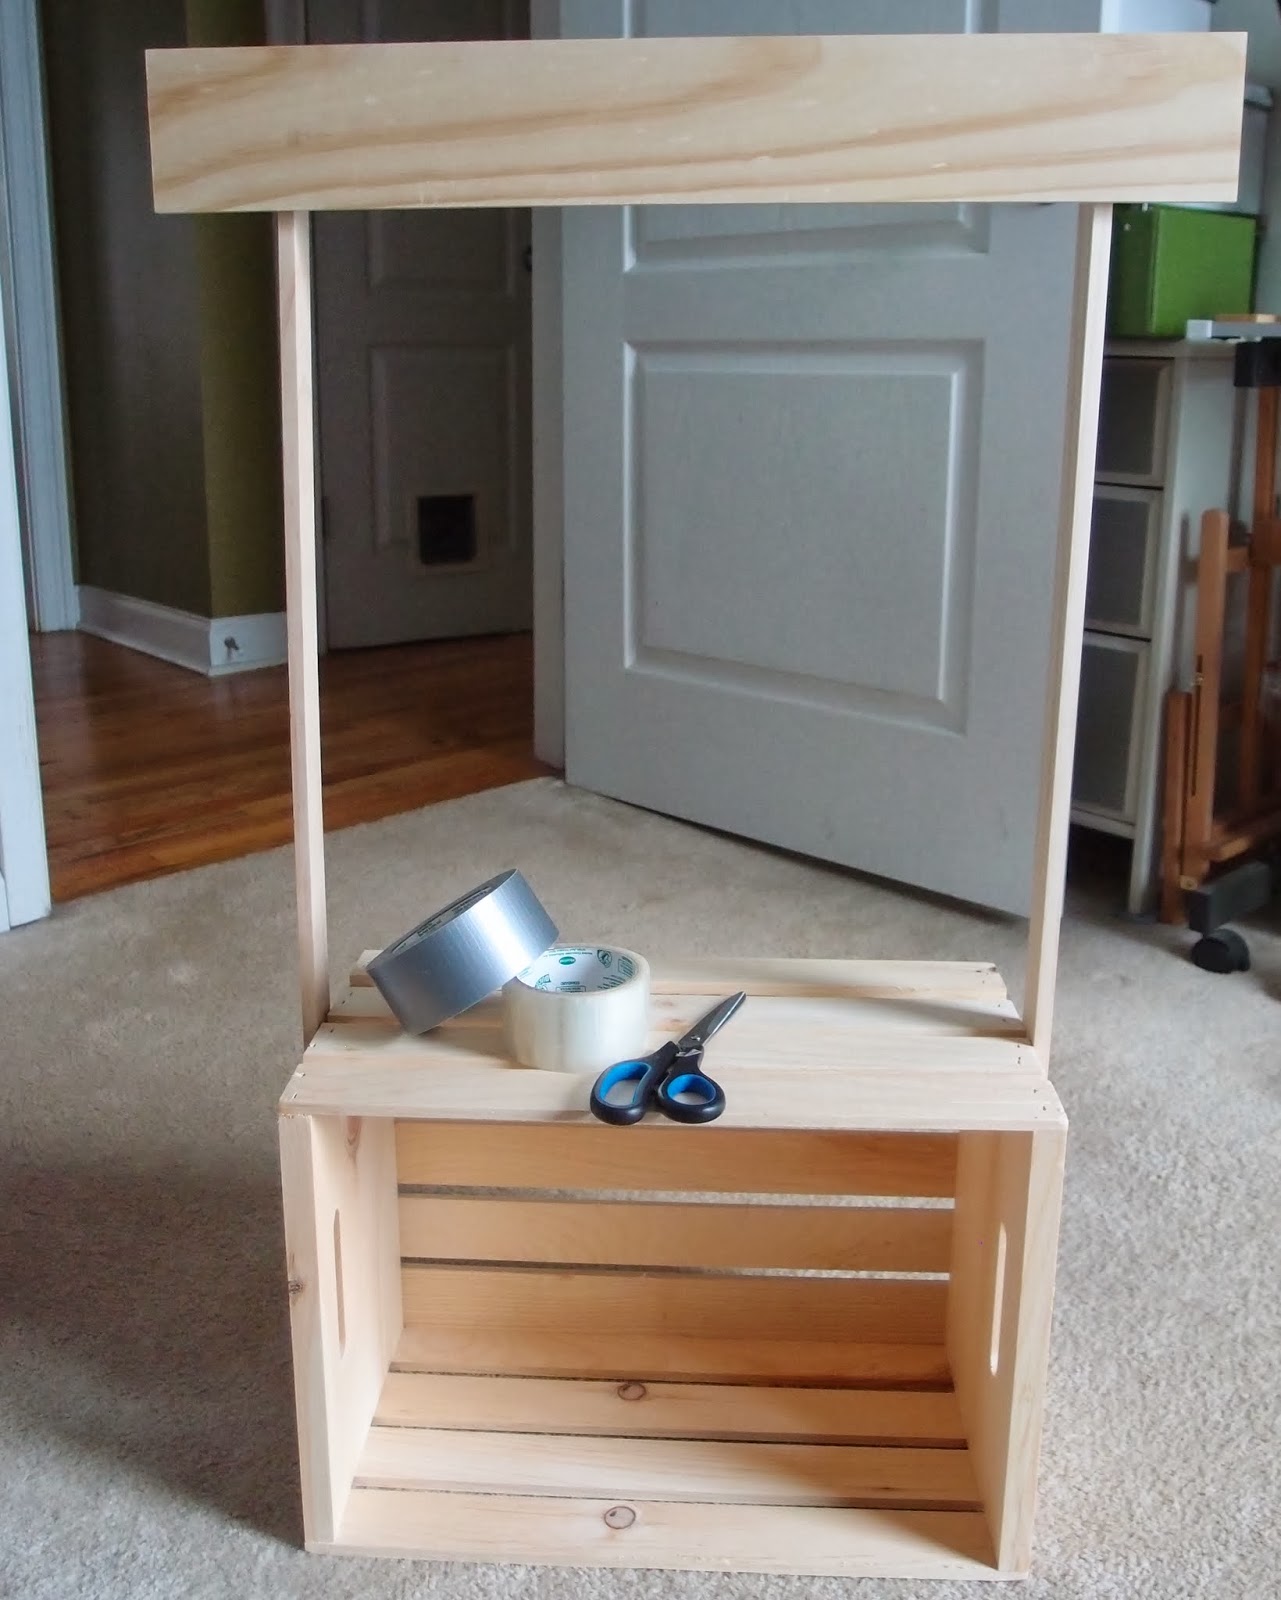
The recent photo session was a lot of fun and photos turned out wonderful.  I got the idea to do a kissing booth theme while browsing through Pinterest awhile ago.  A lot of people were using these wooden crates for the booth and I just happened to have a few that I bought for my office renovation, so it worked out good.  You can find these crates at many different places--I got mine at Michaels and Home Depot.  Price was slightly cheaper at Michaels using their 40% coupon, but I thought the quality was a bit better with the ones from Home Depot.  The only thing is, they don't stock them in store so you'll have to place the order online and go pick them up later.  It took about 5 days for me, which isn't bad if you're not in a rush.  I paid about $10/crate. I also picked up 2 skinny strips of wood and 1 wide plank to complete the structure for about $5.

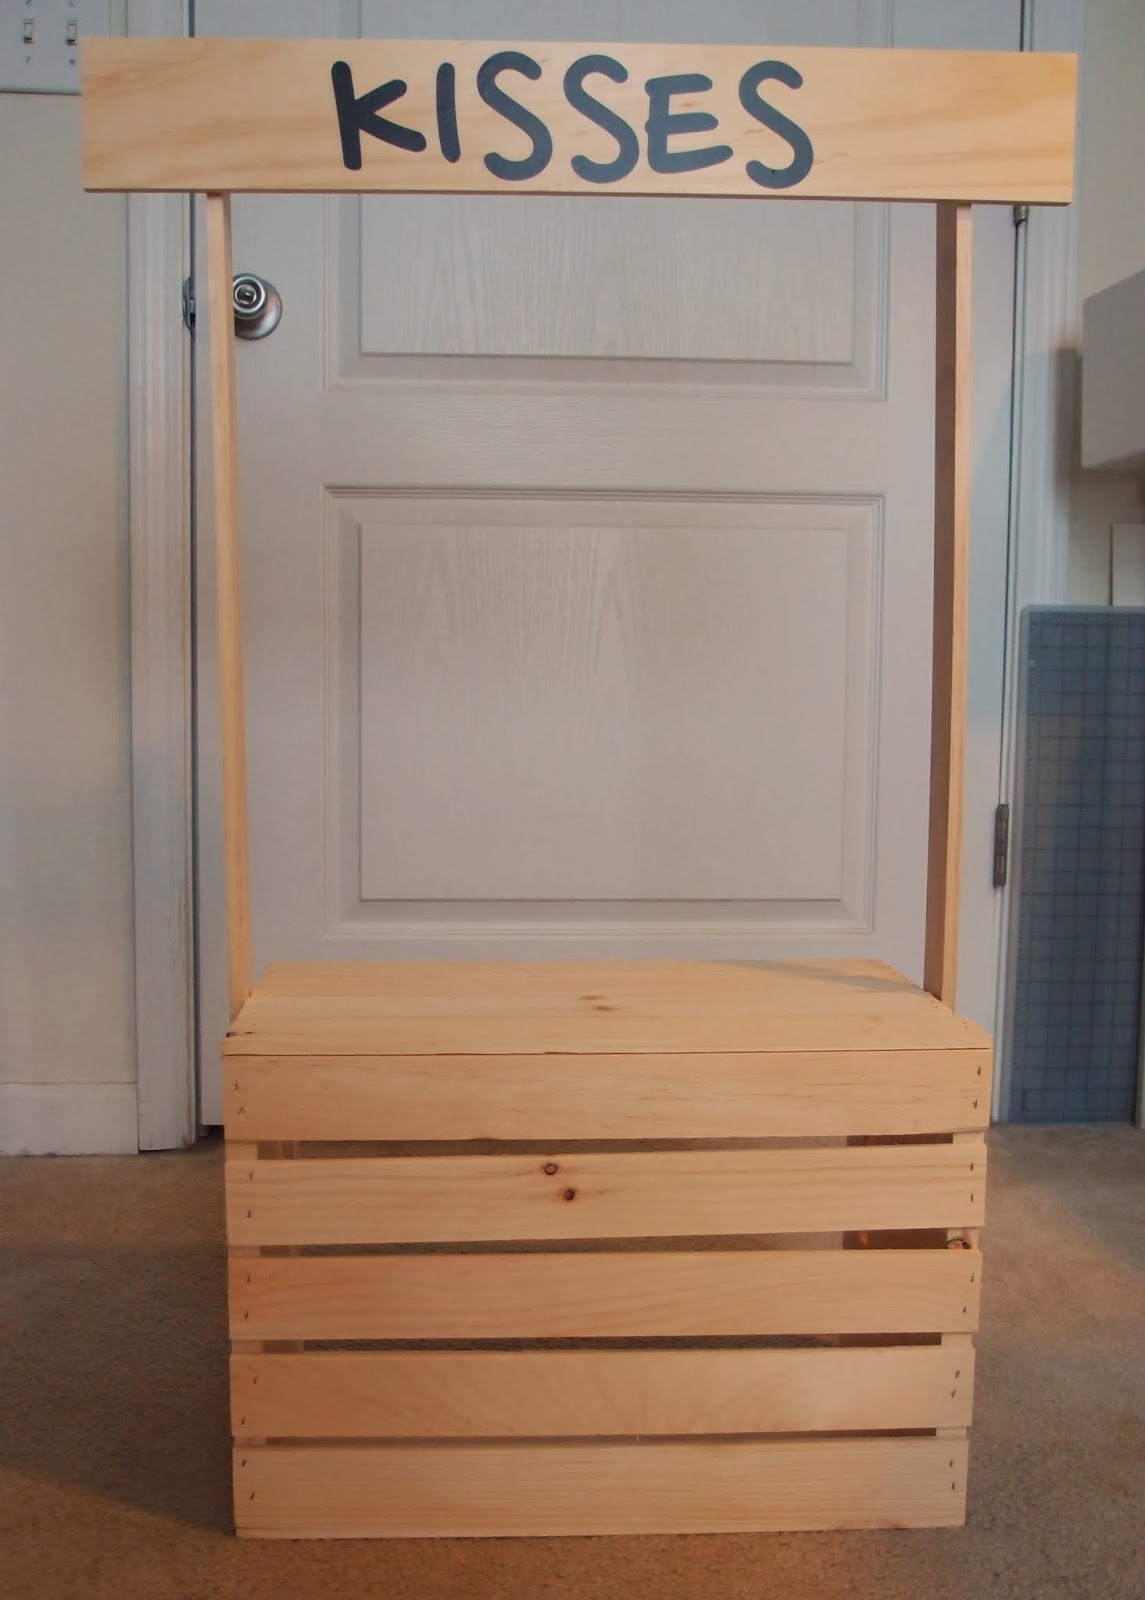
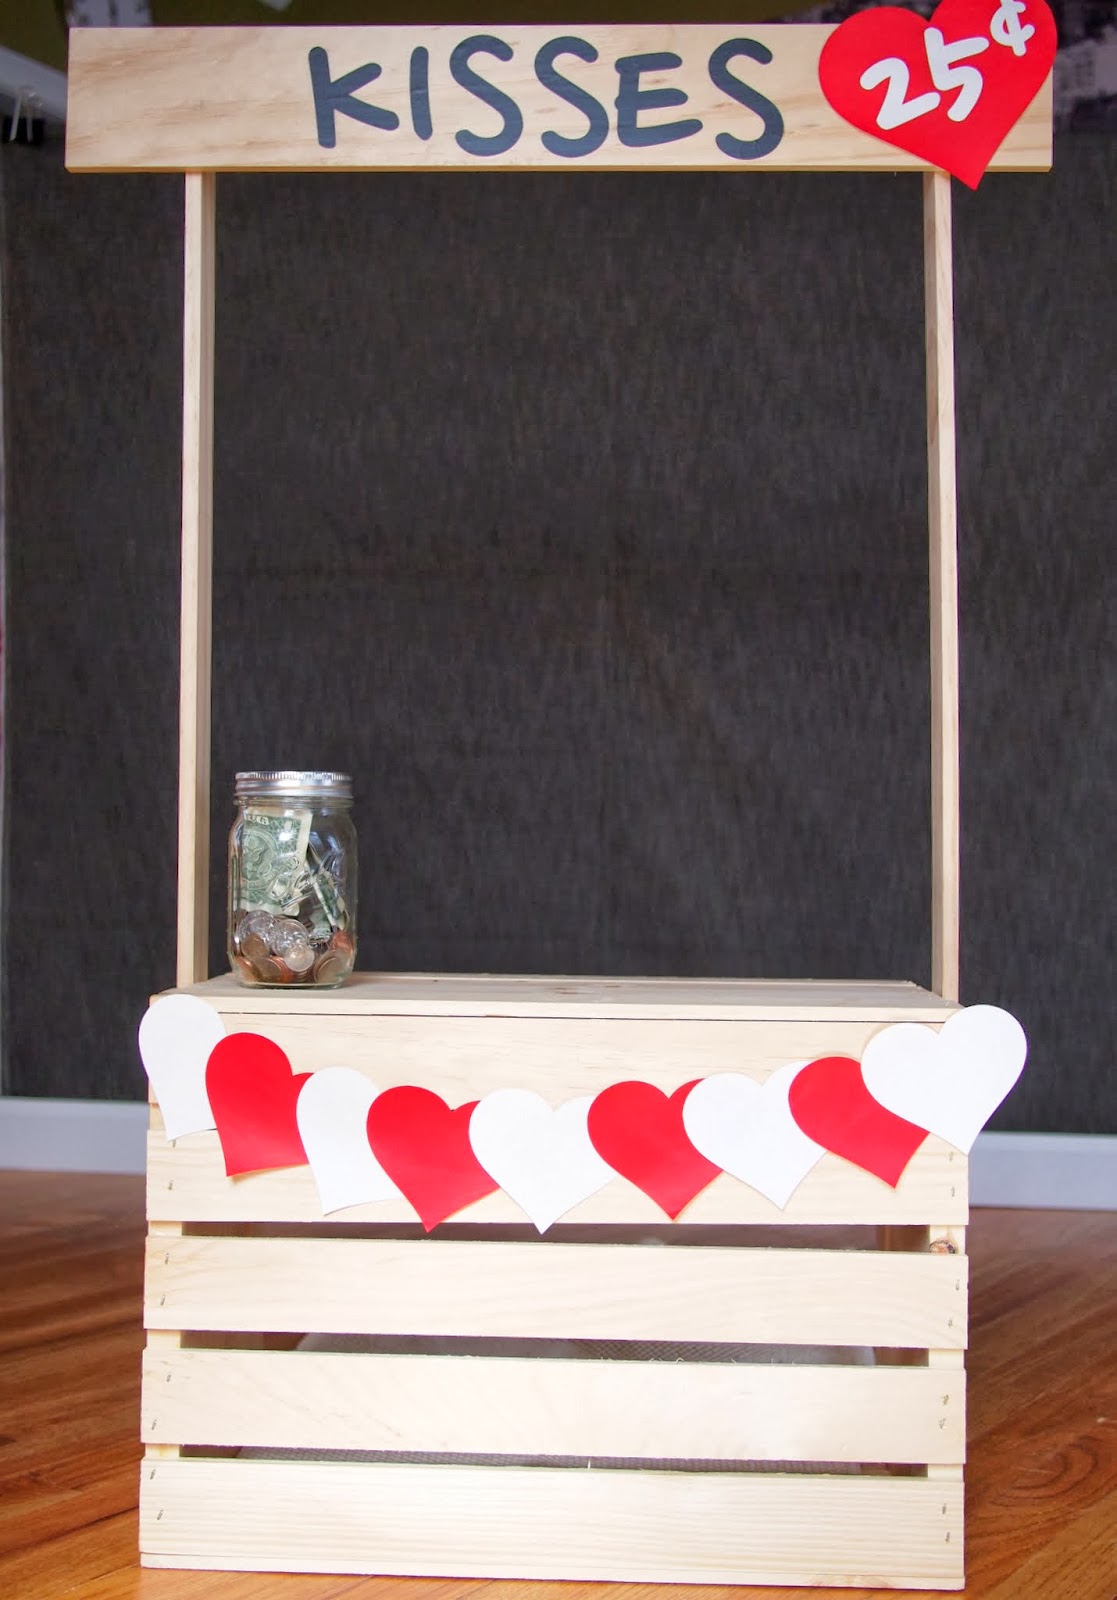
You can get as fancy and creative as you'd like in decorating the kissing booth.  I decided to keep mine pretty simple and added just the sign and a row of hearts.  Since I had to reuse my crate for the office, I opted against using nails or screws, but instead used heavy duty double-sided adhesive strips and duct tape.  It held well enough for the photoshoot, but one side did come apart couple days later, so my advice would be to secure it firmly with proper hardware, especially if you plan on using this to take photos of little ones.  Here are a few photos of the steps outlined:
gather all pieces: crate, 2 side sticks, and one wide board

assemble the pieces--I strongly recommend nails or screws.  I also made the mistake of putting the board facing the wrong side initially.

I added vinyl letters for the sign

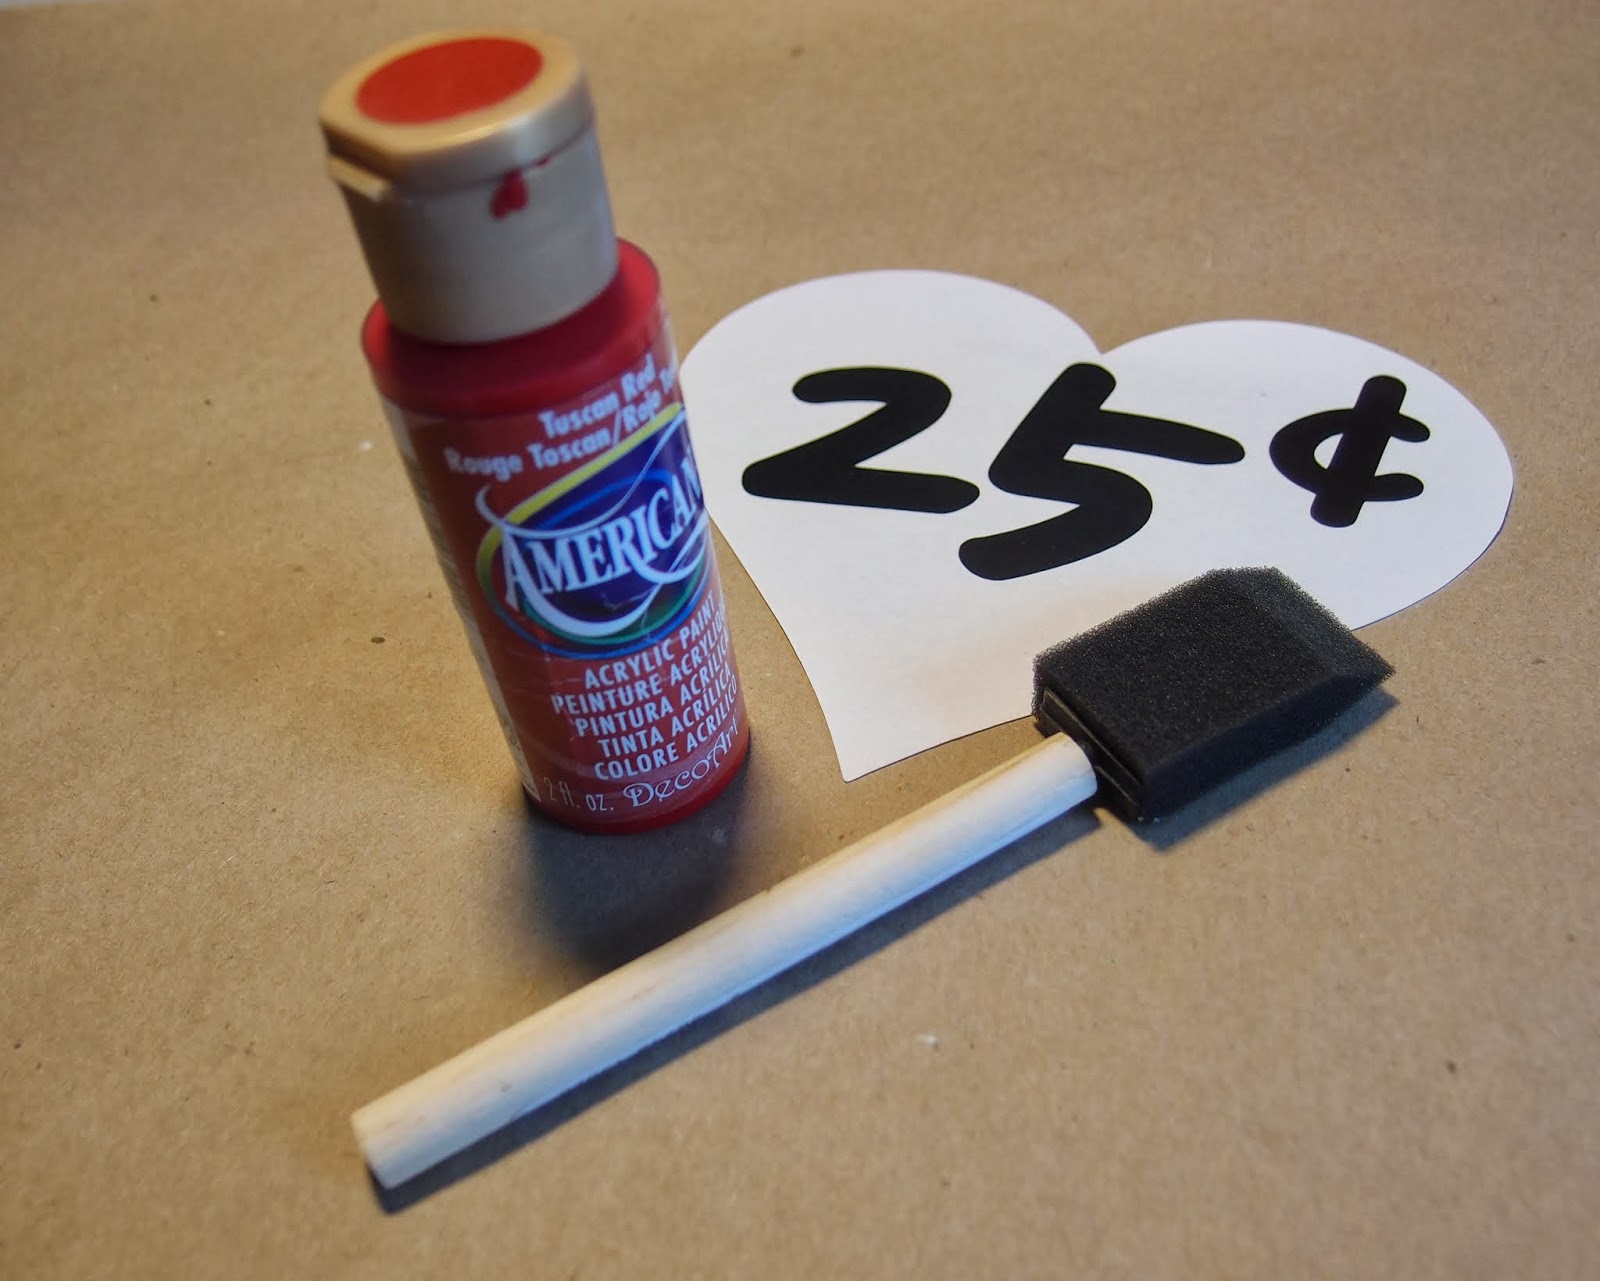
I didn't have red paper on hand so I had to get creative and do a quick stencil job.

I taped a row of hearts and that's it!
All in all, it was a pretty simple project and well worth my time and effort.  It took a little longer than anticipated since I had to paint the red hearts.  Yes, it would've been a lot faster and simpler to just use red paper, but we were stuck in snow and I had to do with what I had in the house.  Oh, and I added the mason jar for the tips, and we were ready for some smooches! You can see the actual photos from the session here.

Friday, February 21, 2014

Happy 10! Project: Be My Valentine

Here's one more late addition to the recent photoshoot:

so true...

So glad it's the weekend, and I'm totally looking forward to some warmer weather!